Preventing the Motherboard Swap Lockout: BitLocker and TPM Protocols
Stop BitLocker lockouts during motherboard replacements. Learn how to suspend encryption properly and rebuild TPM trust after a hardware swap.
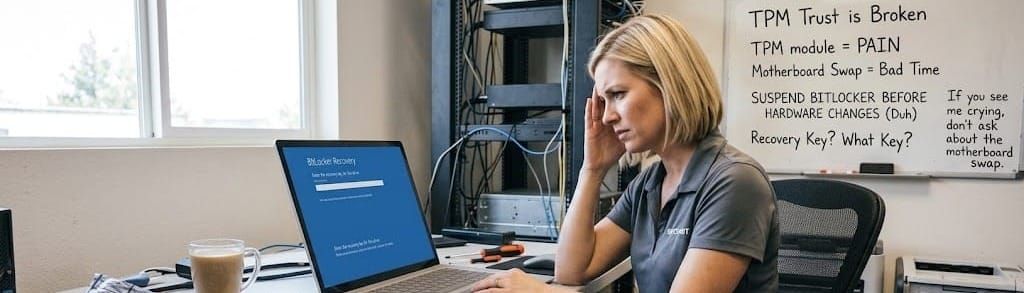
How to suspend BitLocker before hardware repairs and fix TPM trust if you forget.
4 min. read
The Ticket: The OEM Technician Trap
A Dell or Lenovo field technician arrives at your client's office to replace a faulty motherboard under warranty. They finish the physical physical swap, the user boots the laptop, and they are immediately greeted by the dreaded blue BitLocker recovery screen. The new motherboard has a brand new TPM chip, which means the original decryption keys are gone. The user is locked out, the field tech is shrugging their shoulders, and your helpdesk phone is ringing. We need to implement a strict pre-flight protocol for hardware swaps and learn how to rebind the TPM trust if a junior tech forgets the first step.
Pre-Flight Check
- Permissions: Local Administrator rights.
- Tools: PowerShell running as Administrator and your IT documentation platform.
- Impact: High. Forgetting this step guarantees a total system lockout.
[!WARNING] The Risk Factor: The reference in image_cbc394.png glosses over a massive reality check. If your tech forgets to suspend BitLocker before the swap, you absolutely must have the 48 digit recovery key backed up in Entra ID or your documentation platform. There is no command line magic to rebuild TPM trust if you cannot unlock the drive first. Without that key, the data is gone forever and you will be wiping the machine.
The Solution: The Prep and The Recovery
Do not let an OEM warranty tech touch a machine until you have run this first command.
Part 1: The Pre-Swap Protocol Before powering down the machine for the repair, open an elevated PowerShell window and run this command: Suspend-BitLocker -MountPoint "C:" -RebootCount 0
Using -RebootCount 0 is very intentional. It suspends the encryption indefinitely until you manually turn it back on. Hardware repairs often require multiple reboots to test diagnostics and update the BIOS. If you let it default to a single reboot, BitLocker will re-arm itself in the middle of the repair and lock the OEM tech out.
Part 2: The "I Forgot" Fix If a tech forgot to run the suspend command, the user is staring at a blue BitLocker screen.
- Walk the user through typing the 48 digit recovery key to get into Windows.
- Once they are at the desktop, open an elevated PowerShell window.
- Run
Suspend-BitLocker -MountPoint "C:" - Immediately run
Resume-BitLocker -MountPoint "C:"
This rapid suspend and resume cycle completely clears the old TPM binding and seals the encryption key to the brand new motherboard.
The "Why" (Root Cause)
BitLocker ties the encryption key directly to the physical Trusted Platform Module (TPM) chip soldered onto the motherboard. This prevents someone from stealing a hard drive and plugging it into a different computer.
When the Dell technician removes the old board, they literally take the decryption key out the front door with them. The new board has a completely blank TPM. When the hard drive spins up, it sees a stranger asking for data and goes into full lockdown mode to protect the user's files.
Under the Hood (Technical Deep Dive)
When you run the Suspend-BitLocker command, you are not actually decrypting the hard drive. Decrypting takes hours. Suspending takes one second.
When you suspend protection, Windows places a clear text Volume Master Key (VMK) directly onto the hard drive. This acts as an open door, allowing the system to read the encrypted data without needing to ask the TPM for permission. Once you run the Resume-BitLocker command, Windows deletes that clear text key, generates a new one, and writes it securely to the current motherboard's TPM chip.
RMM & Automation Tips
- The Hardware Prep Button: Create a "Hardware Repair Prep" script in your RMM platform. Make it a single click tool that runs the indefinite BitLocker suspension, flushes the DNS cache, and creates a fresh System Restore point. It saves your Tier 1 techs time and ensures they never mistype the PowerShell syntax while the OEM tech is standing over their shoulder.
Troubleshooting & Edge Cases
- Edge Case 1: BIOS and Firmware Updates. Motherboard swaps are not the only trigger. You should also run the suspend command before pushing major BIOS or UEFI firmware updates to your fleet. A drastic change in the BIOS signature will cause the TPM to think the system was compromised, triggering the exact same lockout.
- Edge Case 2: The Clear TPM Prompt. Sometimes the new motherboard will halt on the very first boot asking the user to "Press F12 to clear the TPM." Tell the user to press the button and accept it. The OEM factory often leaves testing data on the chip. Pressing F12 clears the garbage data so Windows can take proper ownership of the hardware.
If you want to see more guides, scripts, and technical deep dives just like this, make sure to follow us on Twitter, check out our Facebook page, and sign up for the weekly 404 & More newsletter! ✌️